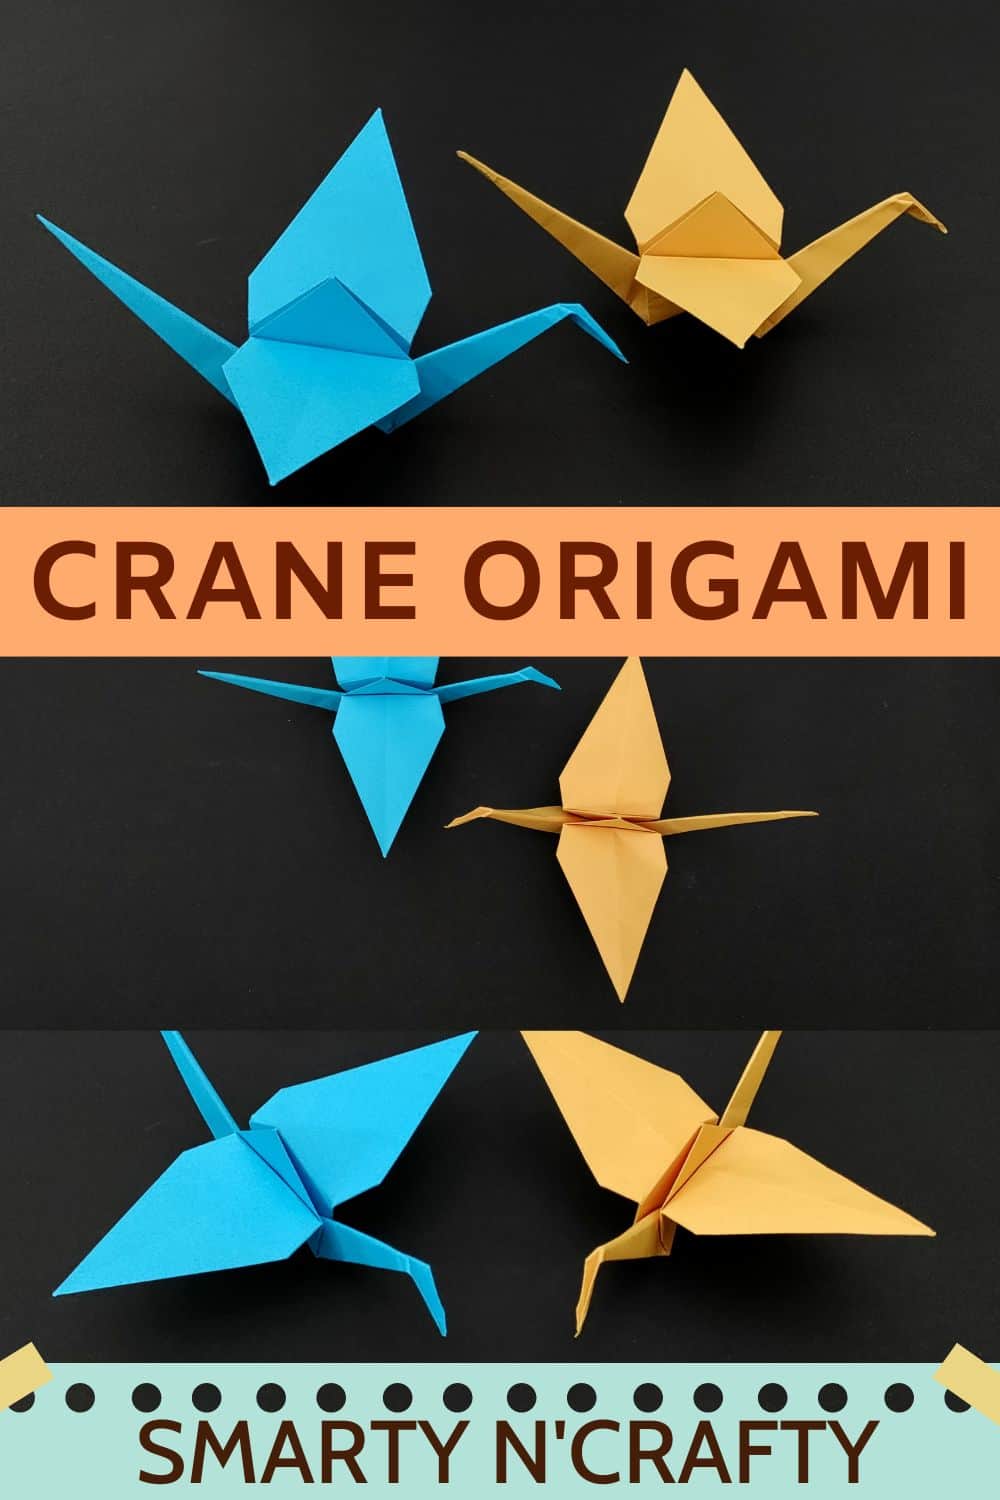
CRANE ORIGAMI
Origami, the ancient Japanese art of paper folding, can be used to make all sorts of objects, including cranes.
A crane is a particularly auspicious origami creation, as it is said to have the power to grant a wish for happiness and good luck.
The crane is an ancient symbol of good fortune and long life, so it’s no wonder that folding these delicate paper birds has become a popular way to wish someone well.
There are many different ways to fold a crane origami, but the most common is the traditional Japanese method.
This involves folding a square sheet of paper into a triangle and then folding the triangle in half to create a smaller triangle.
The corners of the small triangle are then folded in to create the body of the crane, and the wings are created by folding two flaps of paper out from the body.
Once you’ve mastered basic crane origami, you can start experimenting with different designs and patterns.
There are literally thousands of different ways to fold a crane, so the possibilities are endless!
STEPS TO MAKE A CRANE ORIGAMI
1. Start with a square sheet of paper, traditionally black on one side and white on the other. If you only have rectangular paper, follow these instructions to create a square.
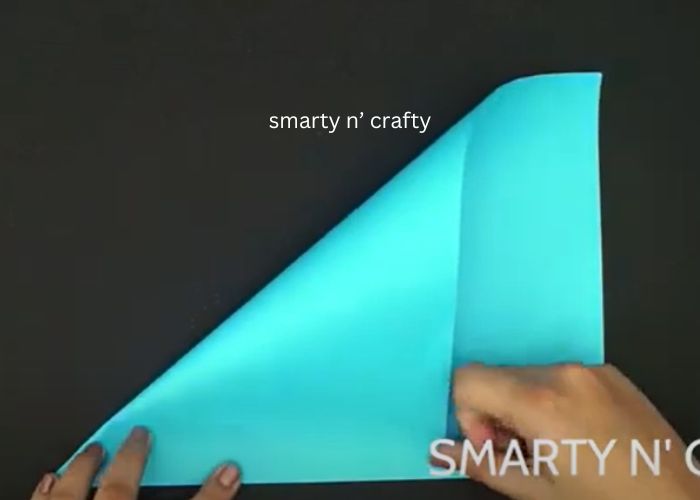
2. Fold your paper in half diagonally to make a triangle. You can use any kind of fold – mountain or valley – but be sure to crease well and open the paper back up again so that you have a sharp crease.
3. Now fold the triangle in half again, this time aligning the shorter side with the long side of the triangle. Again, crease well and open the paper back up.
4. Next, take the top layer of paper at the point where the two creases meet and fold it down to the bottom point of the triangle. This will create a small triangle – crease well and open the paper back up.
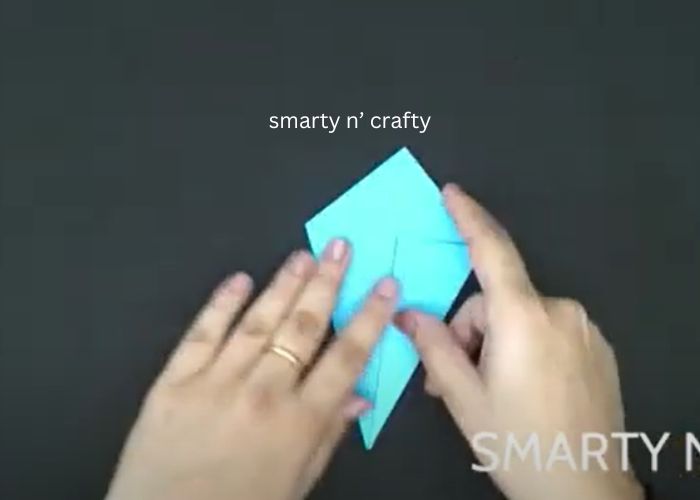
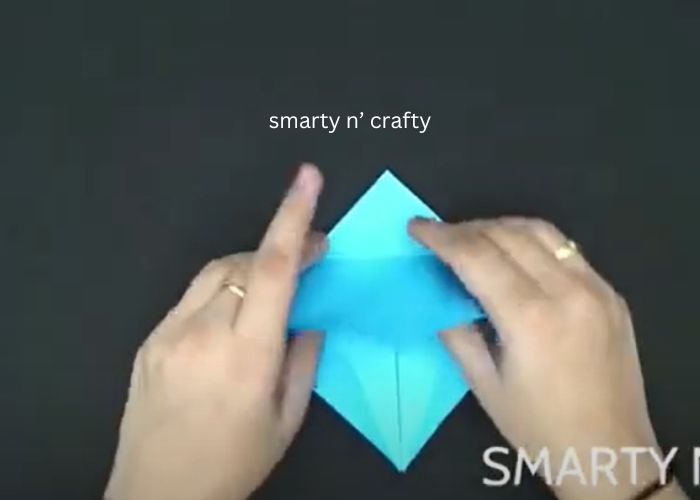
5. Now you’re going to fold each side of the small triangle in to meet at the center point. Once you’ve done this, your paper should look like a kite.
6. To create the crane’s body, take the top layer of paper on each side and fold it in to meet at the center crease.
You can either do this by folding the paper in half and then folding it in half again, or you can simply fold each side in to meet the center.
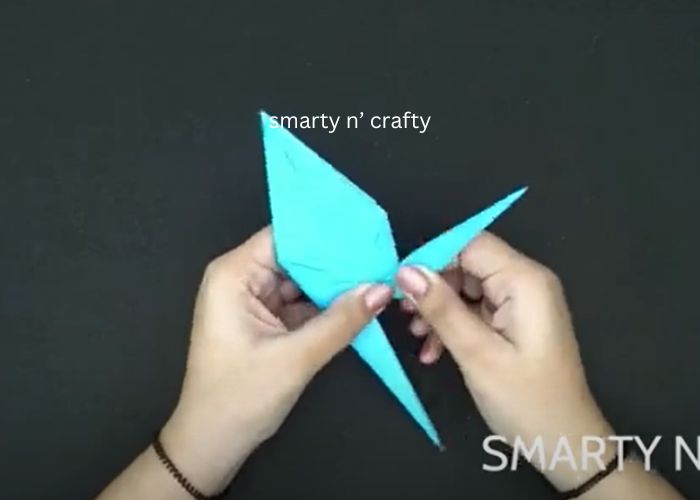
7. Now it’s time to create the crane’s wings.
Take the top layer of paper on each side and fold it down to meet the bottom point of the triangle. This will create two flaps of paper – these are the crane’s wings.
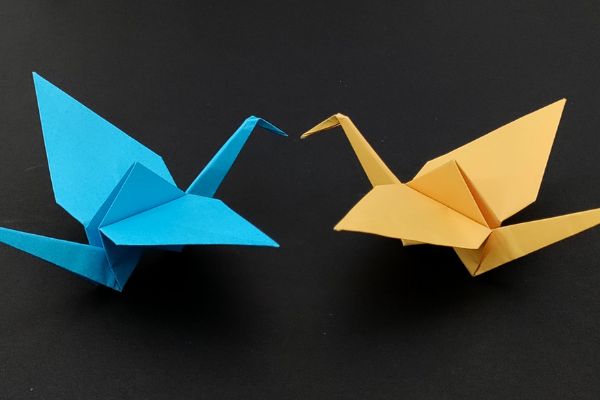
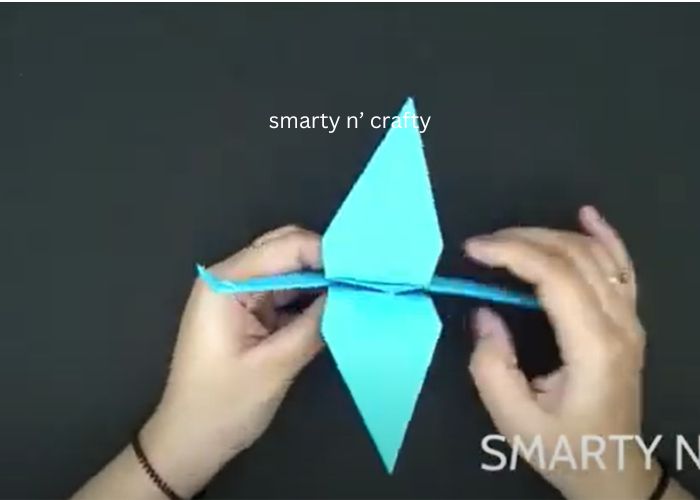
8. To finish your crane, simply tuck the tips of the wings into the body of the crane. And that’s it – your origami crane is complete!
Here is the video. Watch it and make the paper crane easily.
My Take about Crane Origami
It is fun. Simple and sweet.
Crane origami is a great way to relax and have some fun. It’s also a great project for kids.
If you’re looking for something to do that is both enjoyable and challenging, give crane origami a try. You won’t regret it!
Crane origami is a fun and easy way to get started with paper folding. All you need is a piece of paper, some patience, and these simple instructions.
Crane origami is also a creative way to wish someone well, so why not try your hand at it?
It’s a great way to show someone you care, and who knows, your crane might just bring them some good luck!
We hope you enjoy this project!
Related Paper Origami:
- How to make a butterfly in origami?
- 8 Steps to Make a Dog Origami
- Make a Paper Bat with Wings
- Box Origami with a Lid