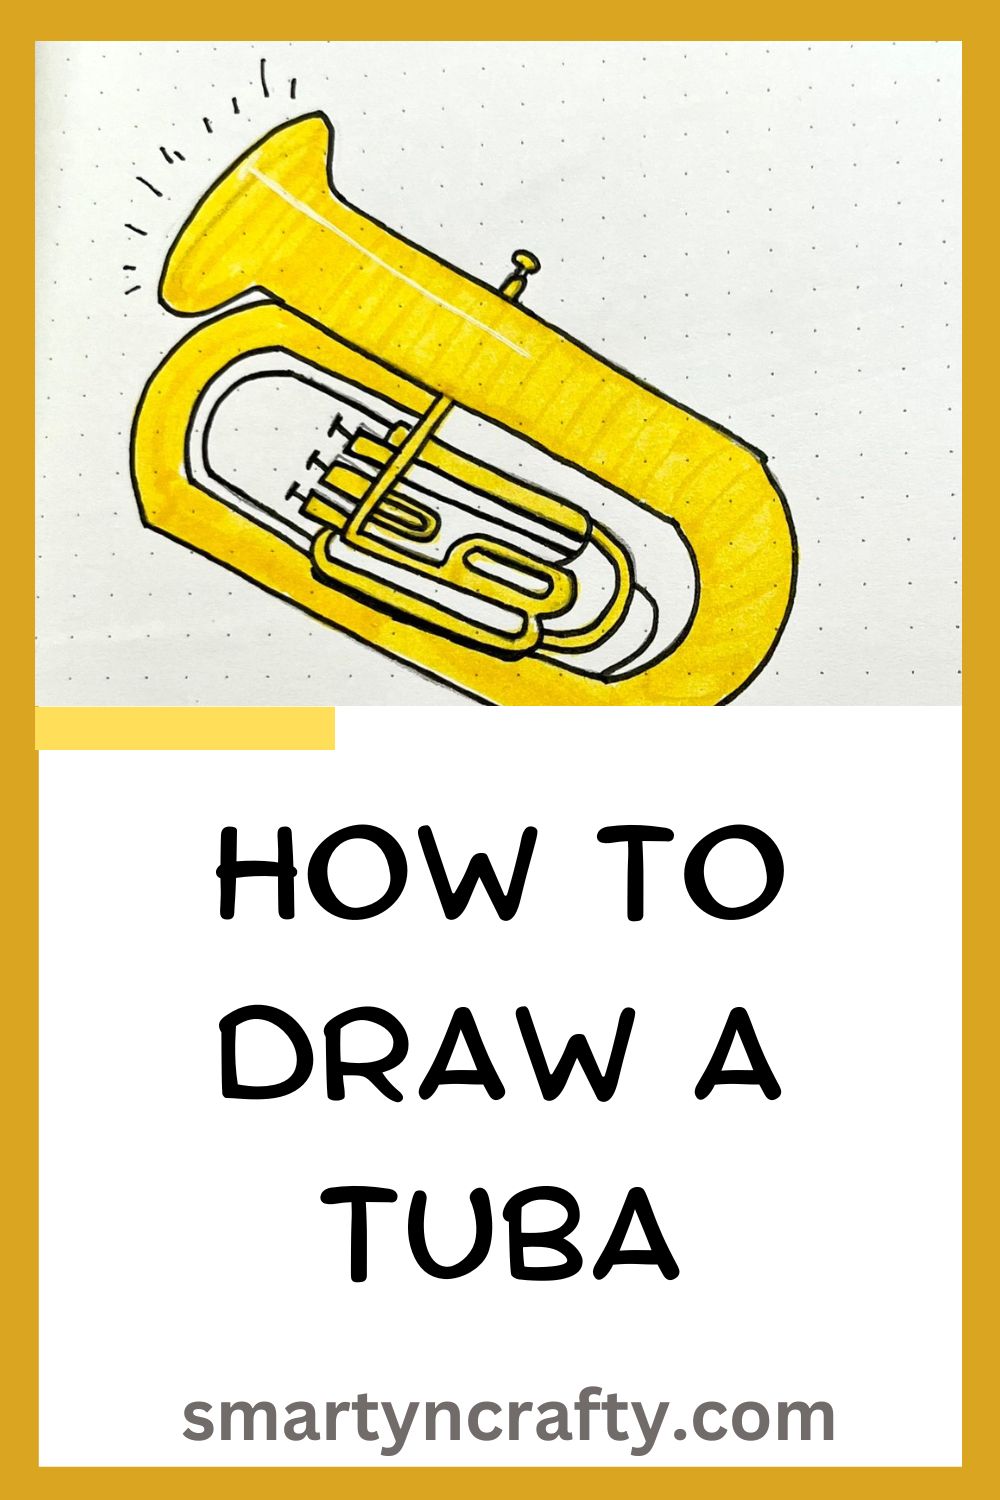
A Step-by-Step Guide on How to Draw a Tuba
The tuba, with its distinctive shape and powerful sound, is a fascinating instrument to capture in art.
Whether you’re an aspiring artist or just looking for a creative outlet, drawing a tuba can be a rewarding experience.
In this step-by-step guide, we’ll walk you through the process of drawing a tuba, breaking it down into simple and manageable steps.
Materials Needed:
- Sketchpad or drawing paper
- Pencil
- Eraser
- Fine-tipped pen or marker (optional)
- Reference images of a tuba
Step 1
Step 2

Step 3
Step 4
Step 5
Step 6

Step 7
Step 8


If you want to do it in a theoretical way in a different process then read on.
Step 1: Gather Reference Images
Before you begin, it’s essential to have clear reference images of a tuba.
Look for various angles and close-ups to understand the instrument’s shape, details, and proportions. Having references will help you create a more accurate and realistic drawing.
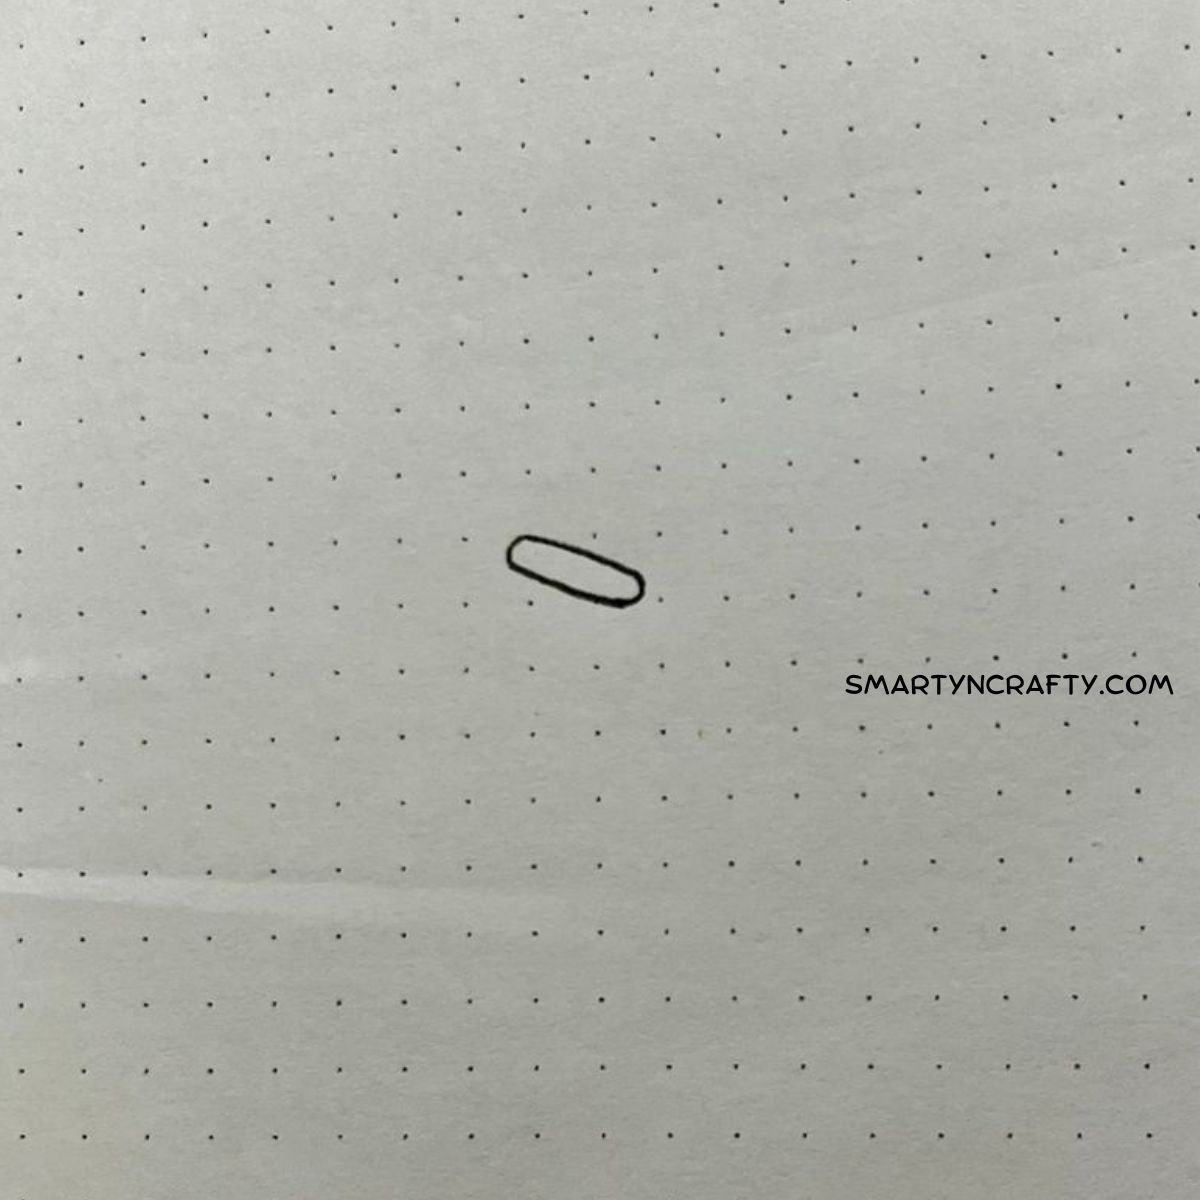
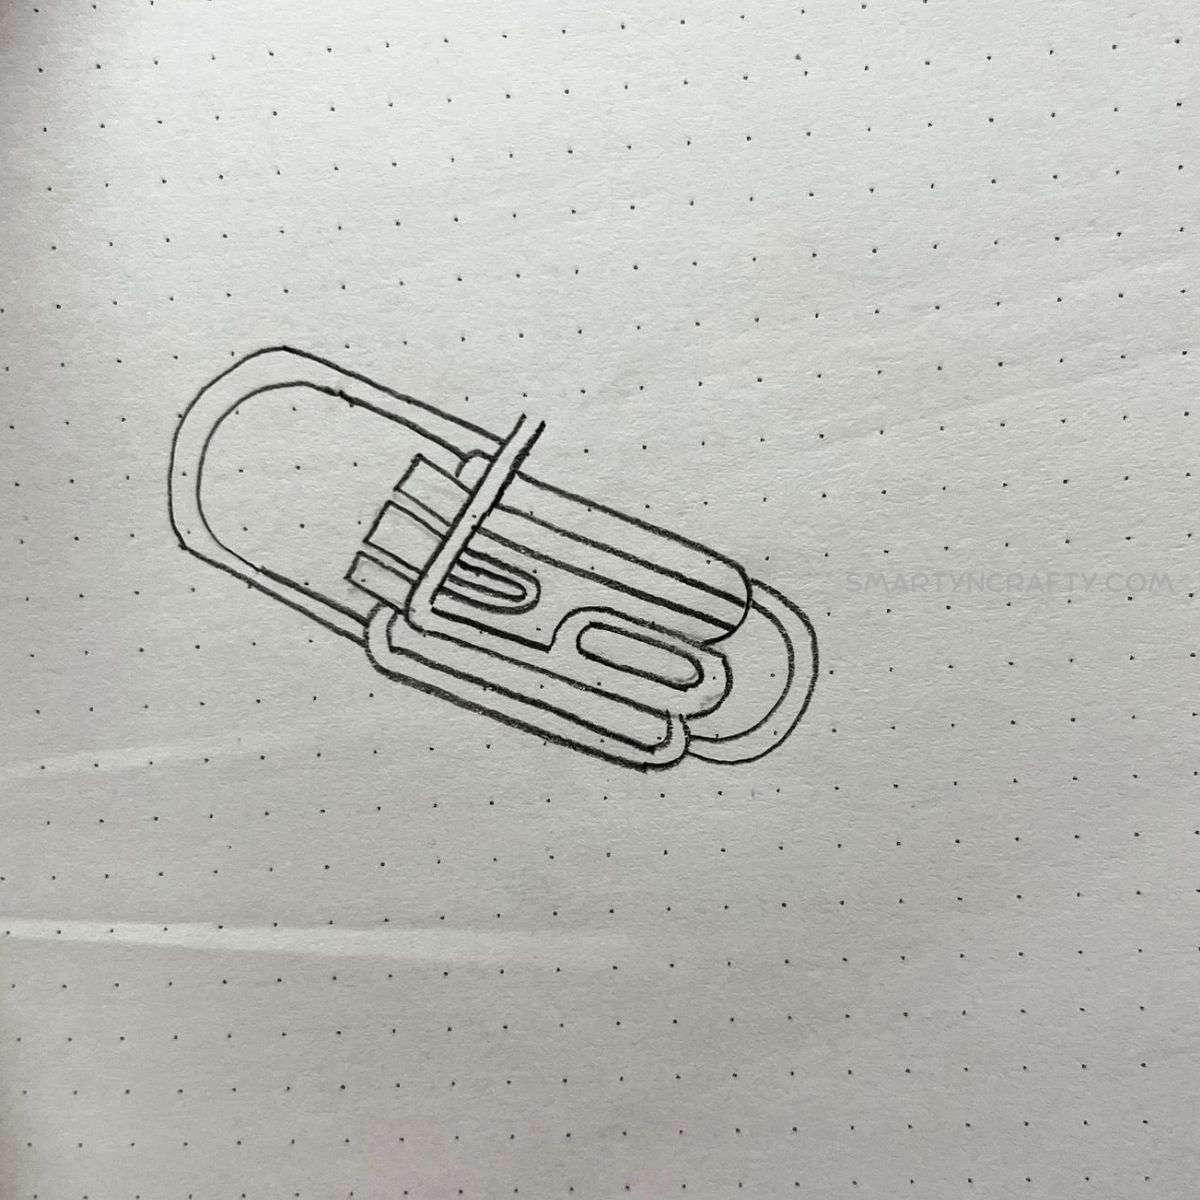
Step 2: Basic Shapes and Guidelines
Start with a simple sketch to outline the basic shape of the tuba.
Begin by drawing a vertical oval for the main body of the tuba and a smaller circle at the top for the mouthpiece.
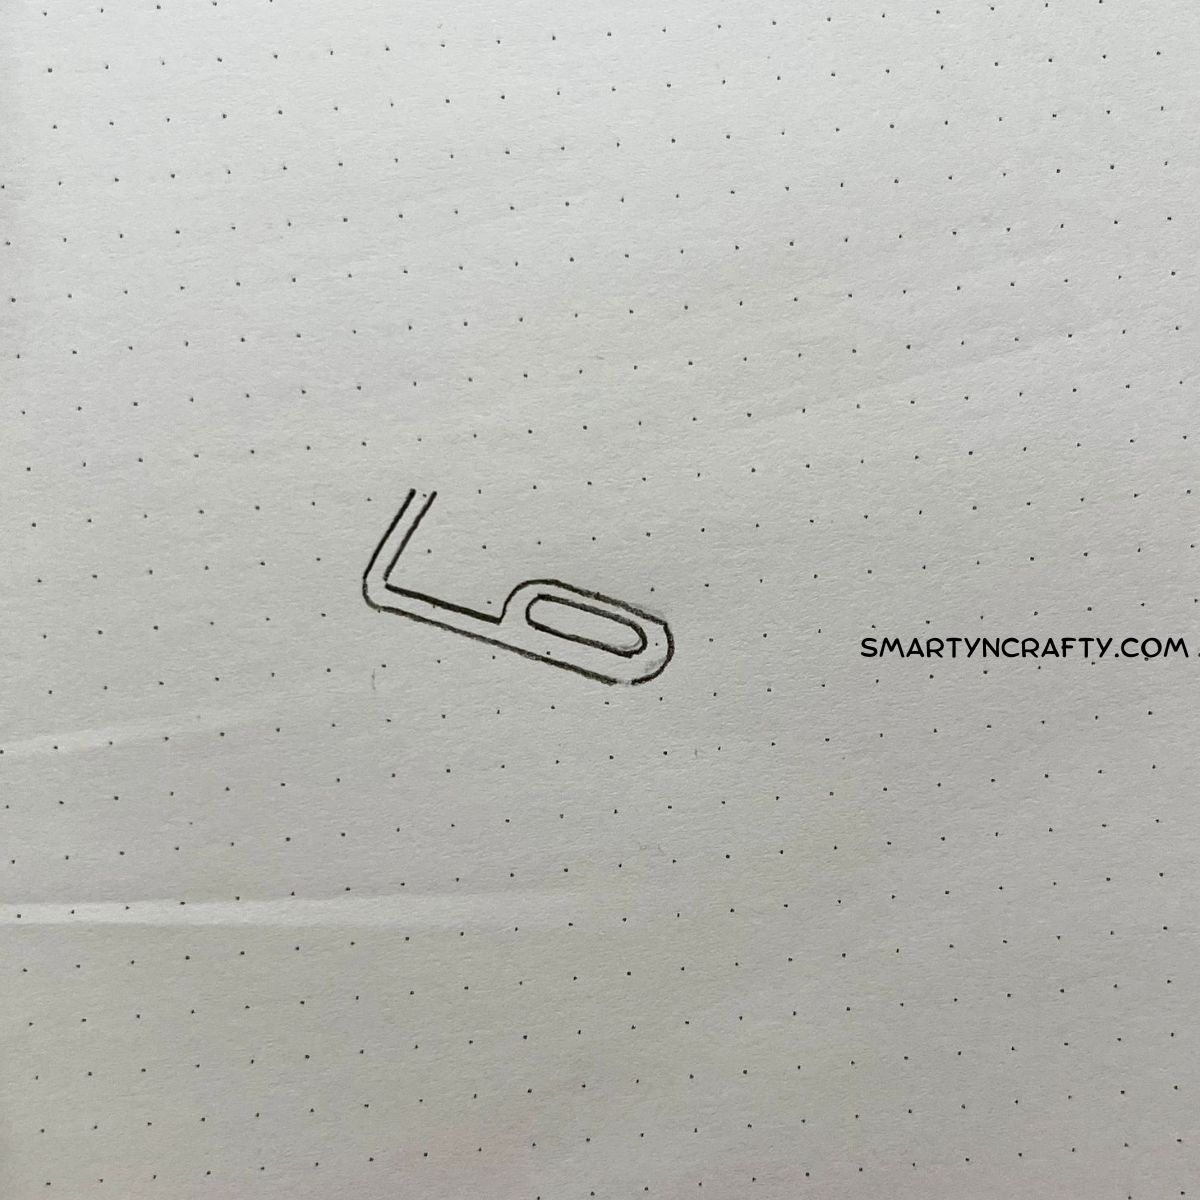
Connect these two shapes with a curved line to form the lead pipe. Add two horizontal lines near the bottom of the oval to represent the tubing that extends from the body.
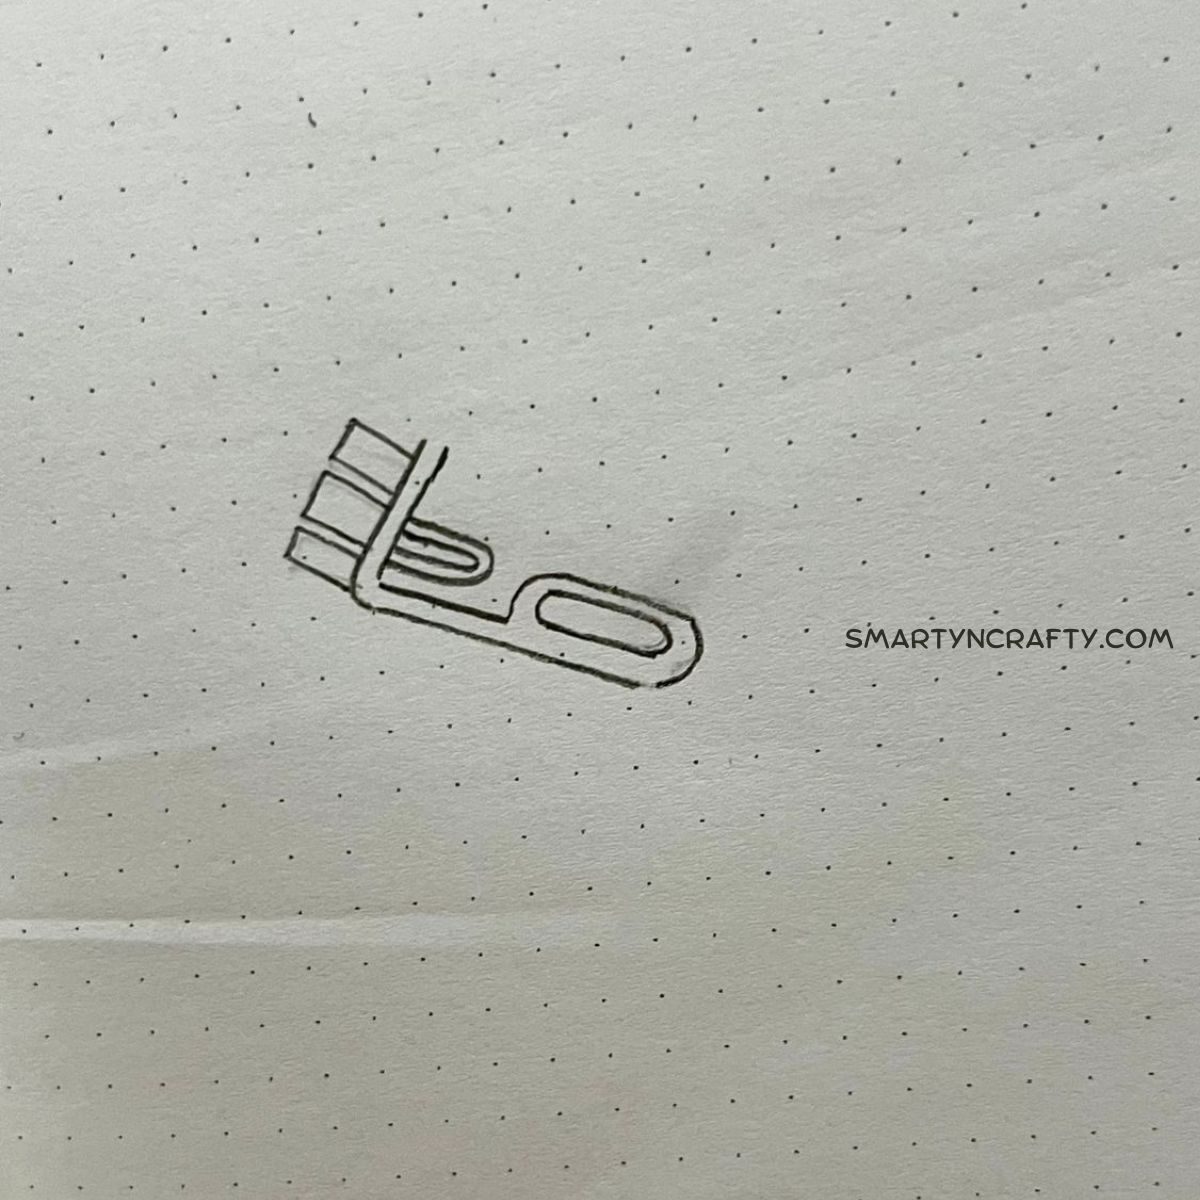
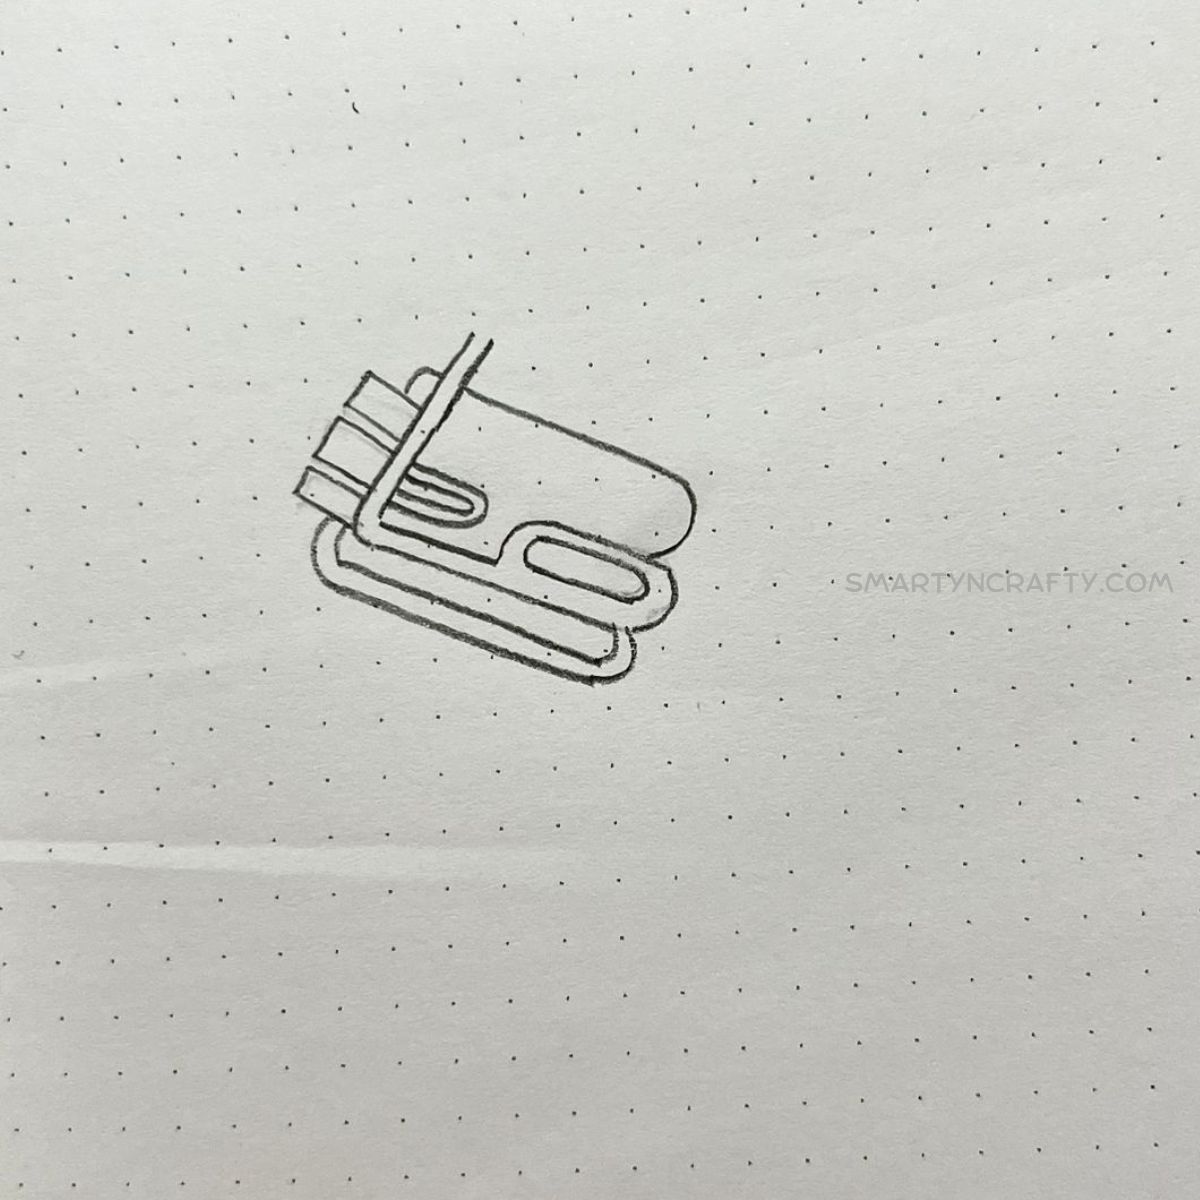
Step 3: Add Details to the Body
Refine the shape of the tuba by adding details to the body.
Draw a horizontal oval at the bottom of the main oval for the valve casing. Add three small circles within the oval to represent the valves. Extend curved lines from the valve casing to the tubing at the bottom.
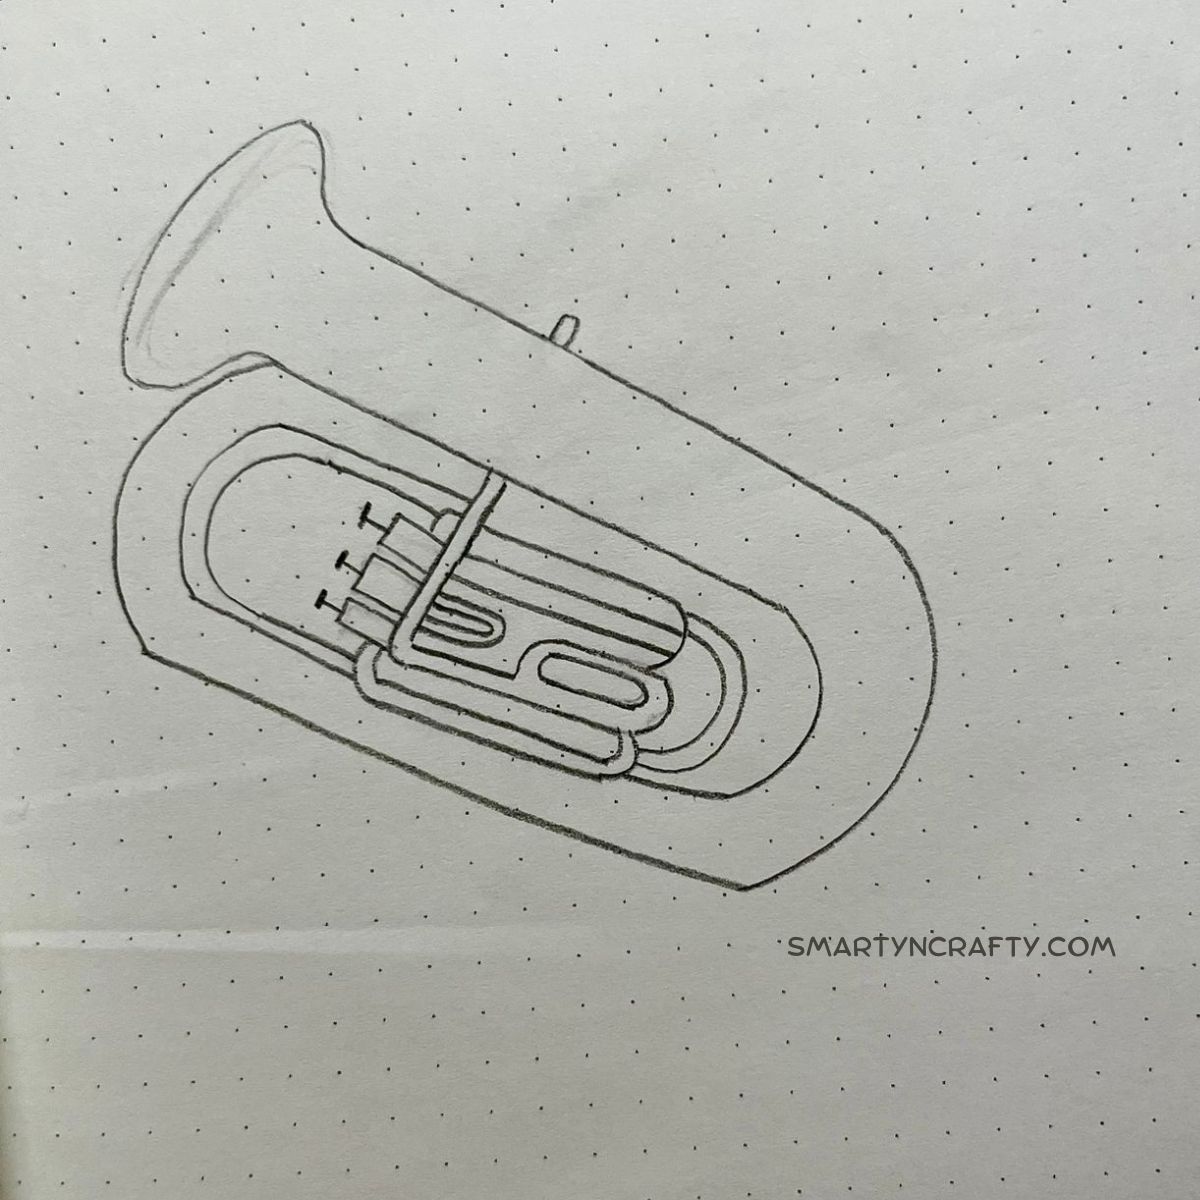
Step 4: Draw the Bell
The bell is a distinctive feature of the tuba. Draw a flared shape at the bottom of the oval to represent the bell. This shape is usually wider than the main body.
Add a curved line inside the bell to indicate the bell flare.
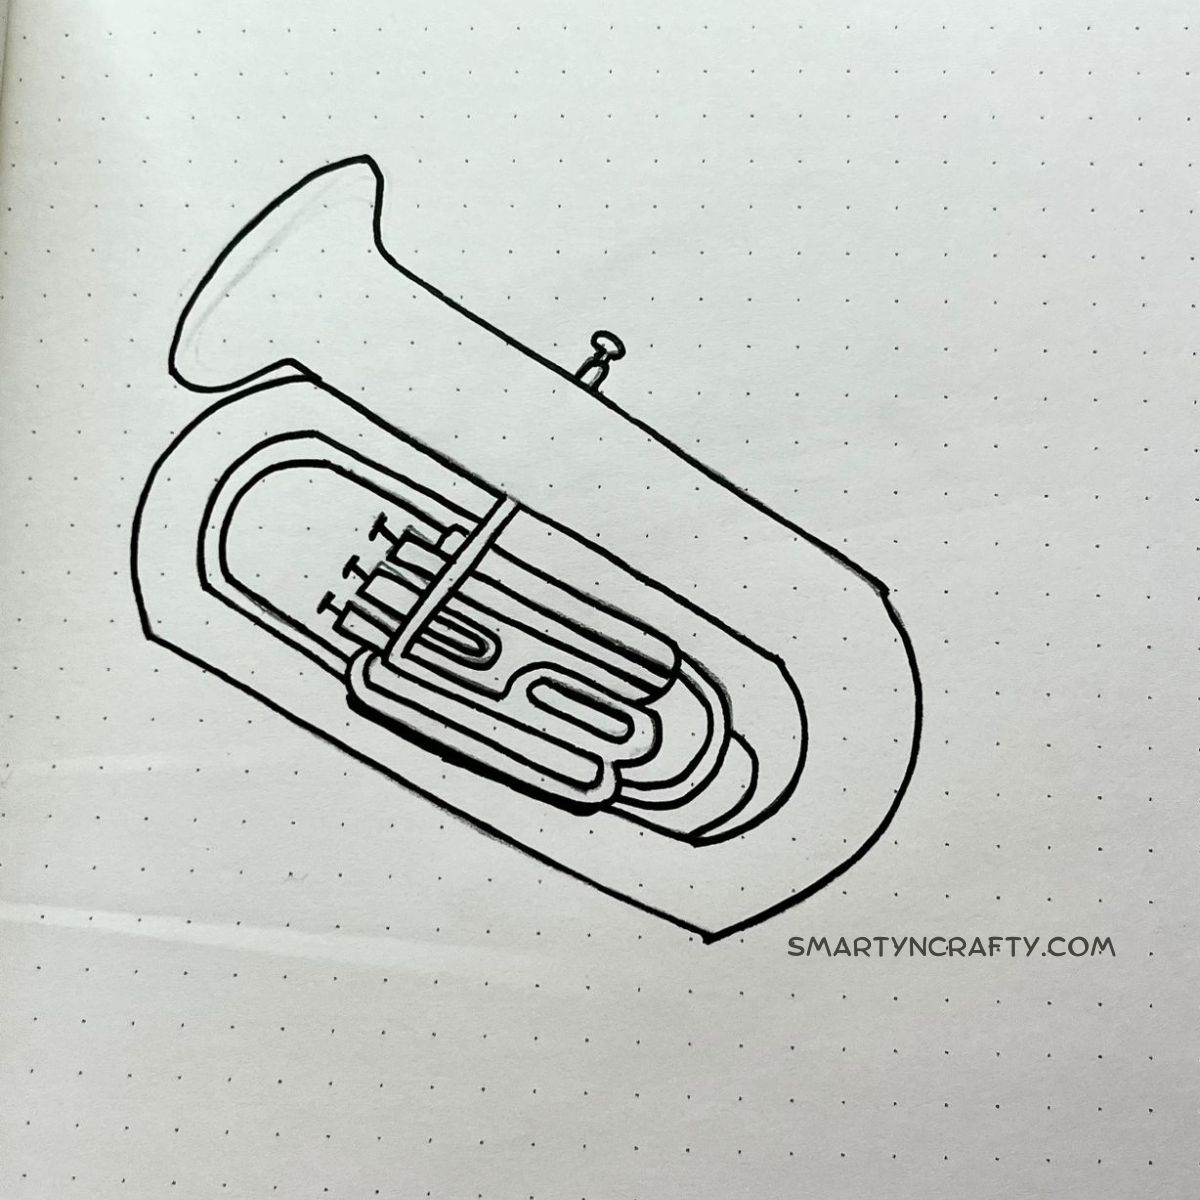
Step 5: Refine and Add Texture
Refine the overall shape of the tuba and erase any unnecessary guidelines. Add texture and details to the instrument, such as valve buttons, braces, and the mouthpiece receiver.
Pay attention to the reference images to capture these intricate details accurately.
Step 6: Finalize and Ink (Optional)
Once you’re satisfied with the pencil sketch, you can choose to finalize your drawing by going over it with a fine-tipped pen or marker.
This step is optional but can add boldness and clarity to your artwork. Allow the ink to dry completely before erasing any remaining pencil lines.
My Take on How to Draw a Tuba
Drawing a tuba is an enjoyable process that allows you to explore your artistic skills.
By following these steps and paying attention to details, you can create a realistic representation of this iconic brass instrument.
Remember to practice, experiment, and have fun with your artistic journey!
Related on How to Draw a Tuba