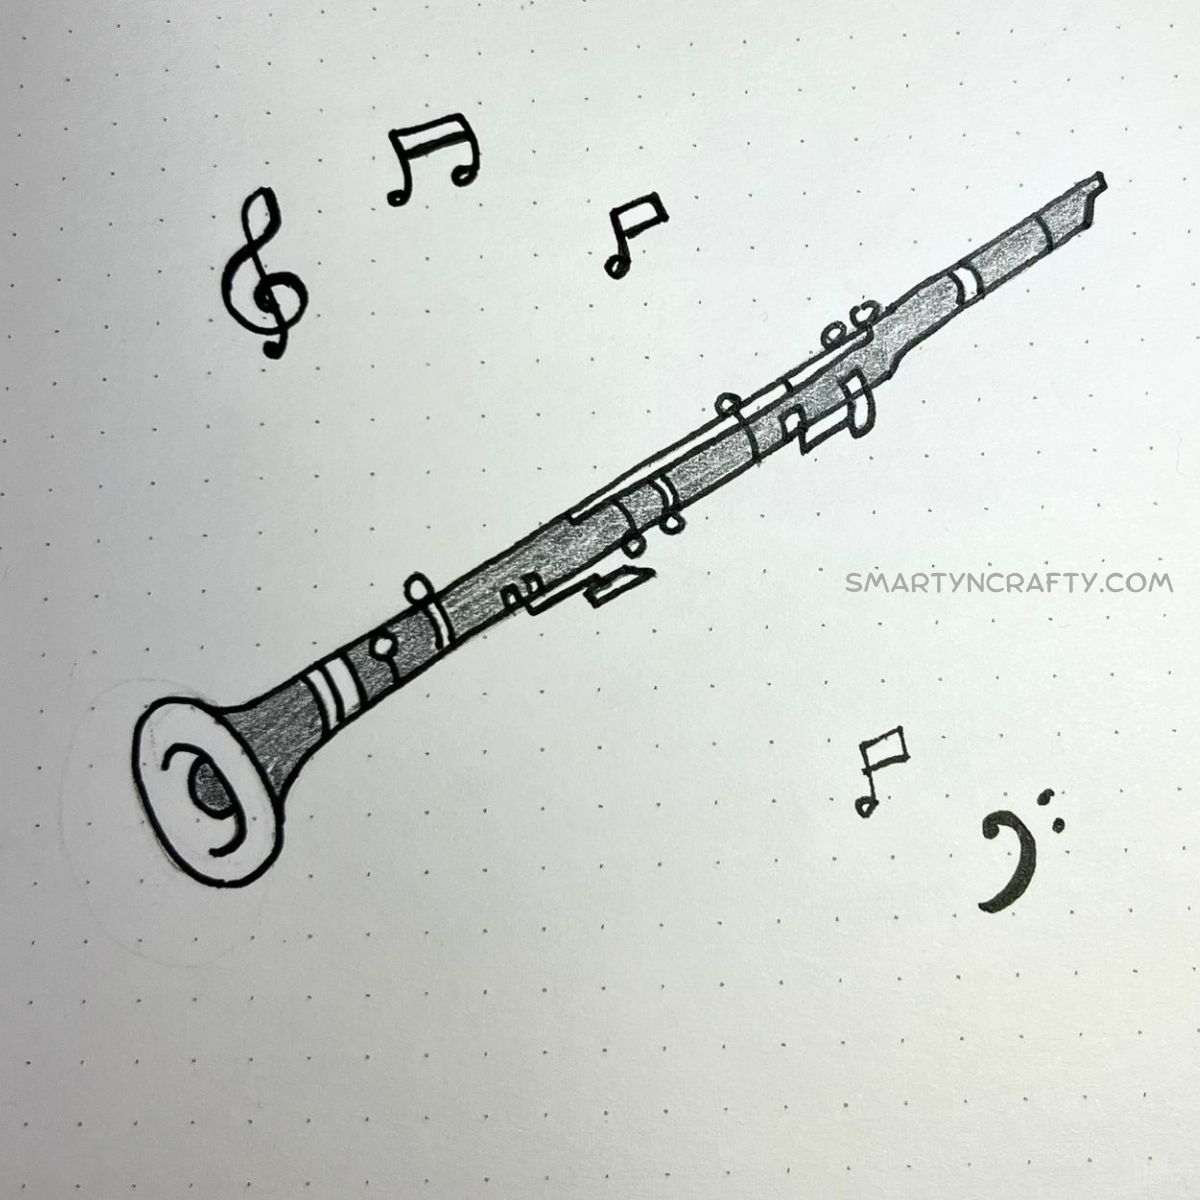
How to Draw a Clarinet- A step-by-step drawing for beginners
Drawing a musical instrument like the clarinet can be a fun and rewarding artistic endeavor.
Whether you’re an aspiring artist or simply looking for a creative outlet, this step-by-step guide will help you capture the essence of this elegant woodwind instrument on paper.
So, let’s dive into the world of art and music as we explore how to draw a clarinet.
Materials Needed:
- Drawing paper or sketchbook
- Pencil
- Eraser
- Fine-tip pen or markers (optional)
- Reference image of a clarinet
Step 1
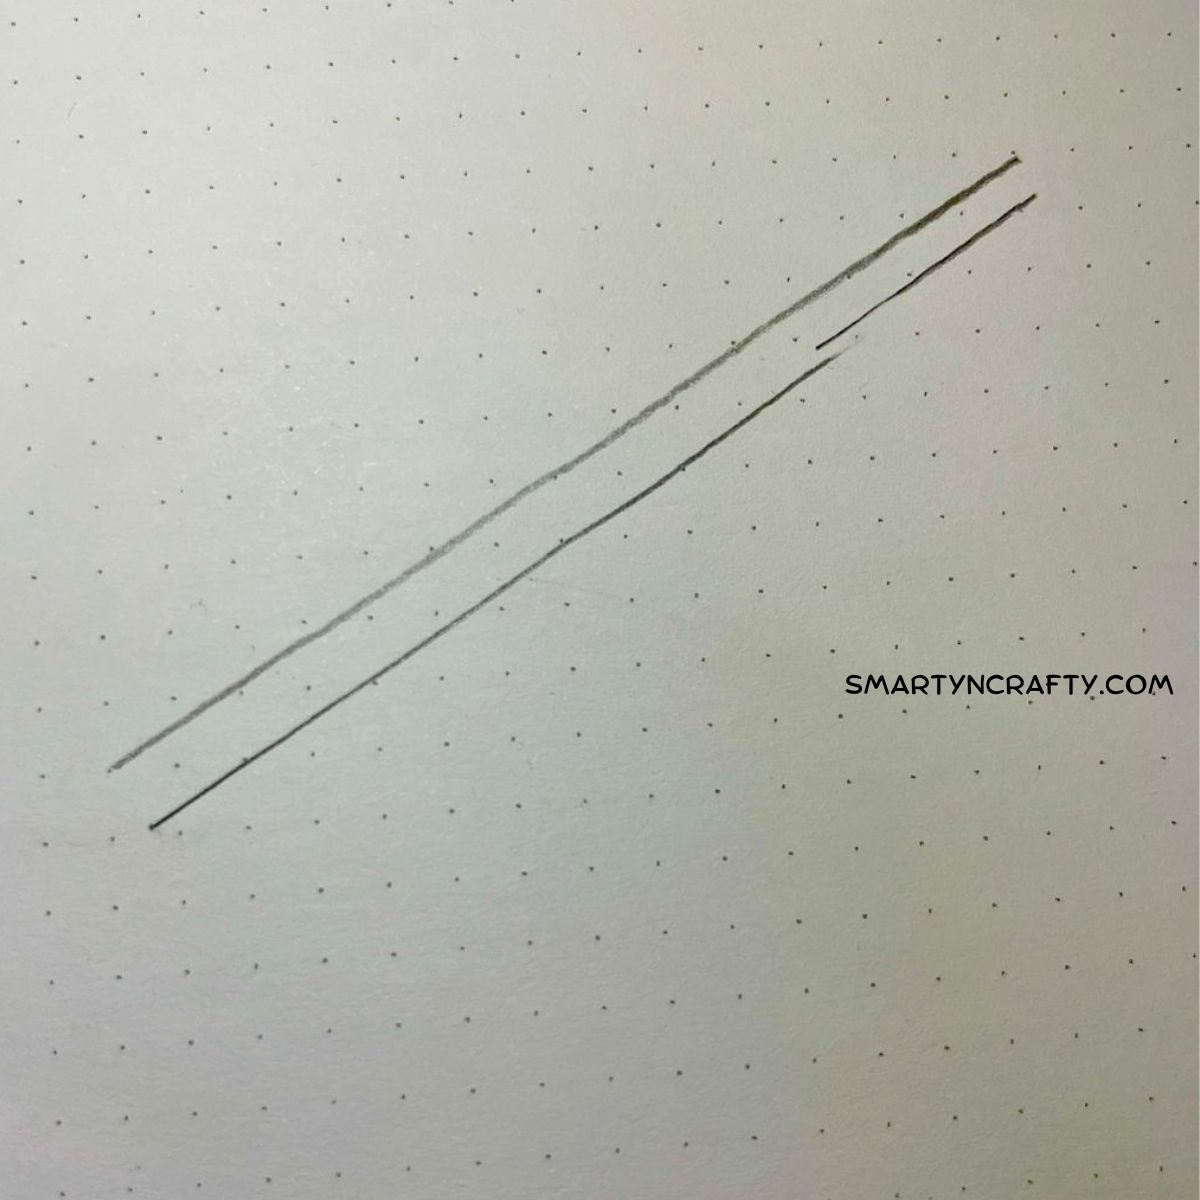
I drew the straight lines first. But the other way is to draw the circles first.
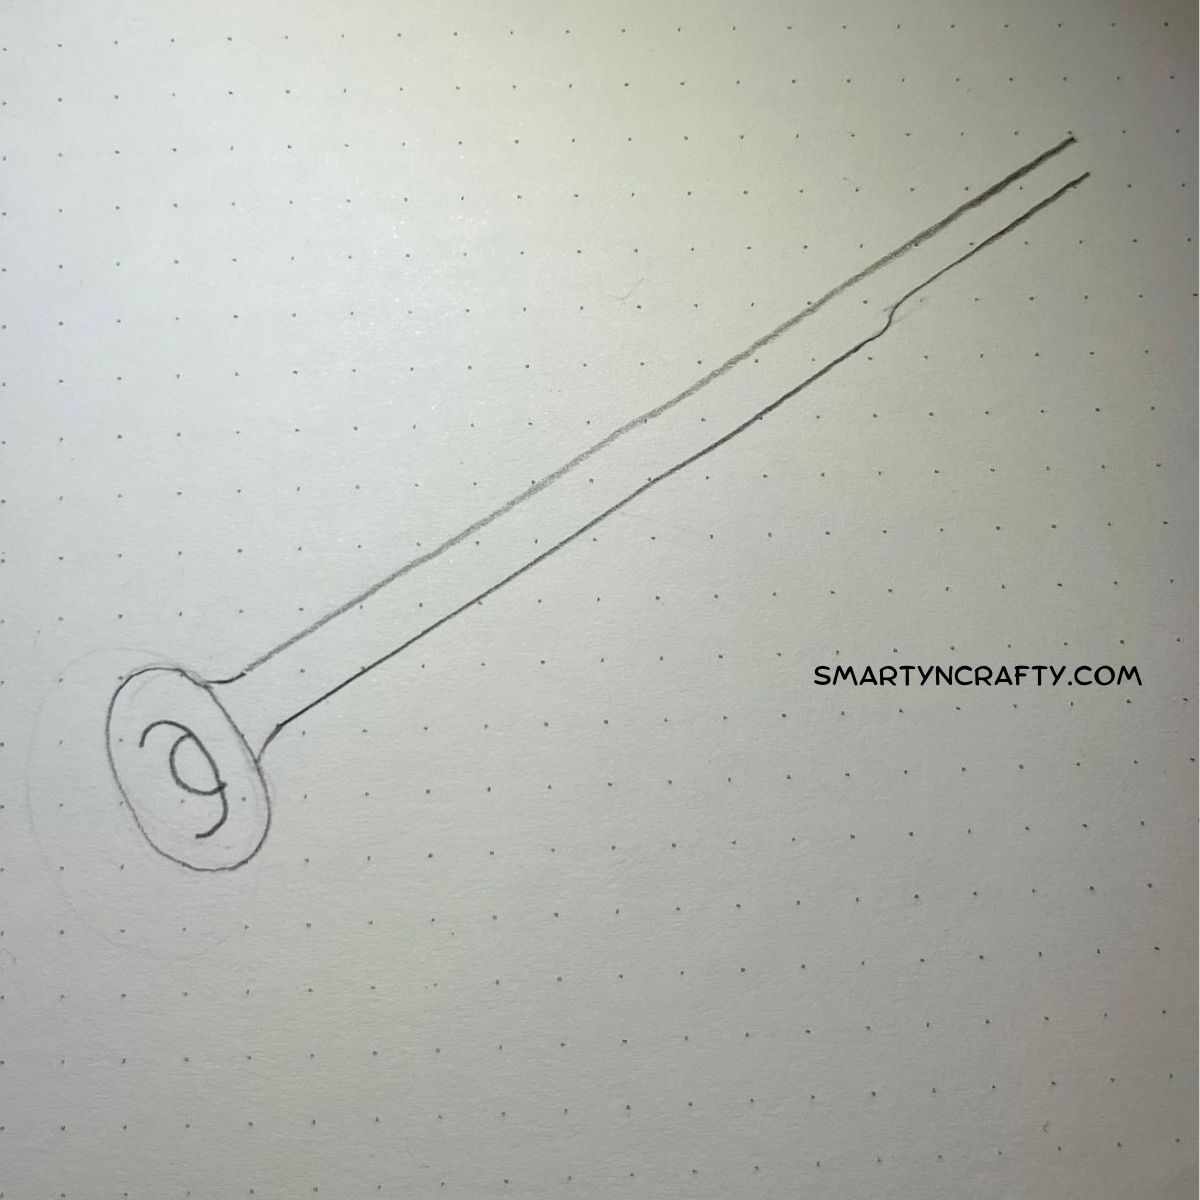
Step 2
Step 3
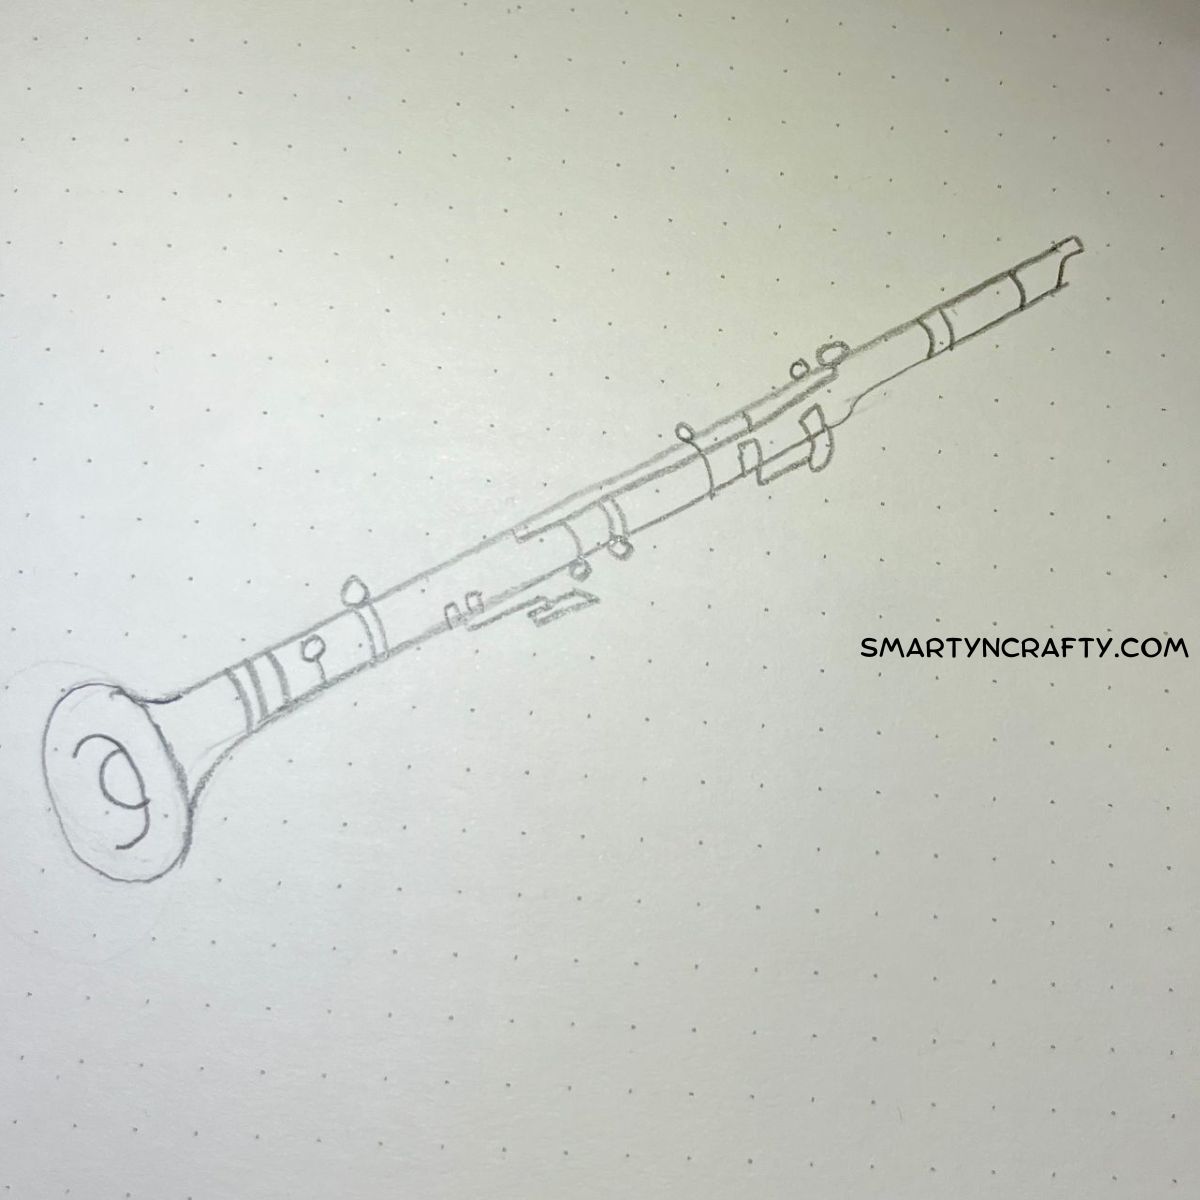
Step 4
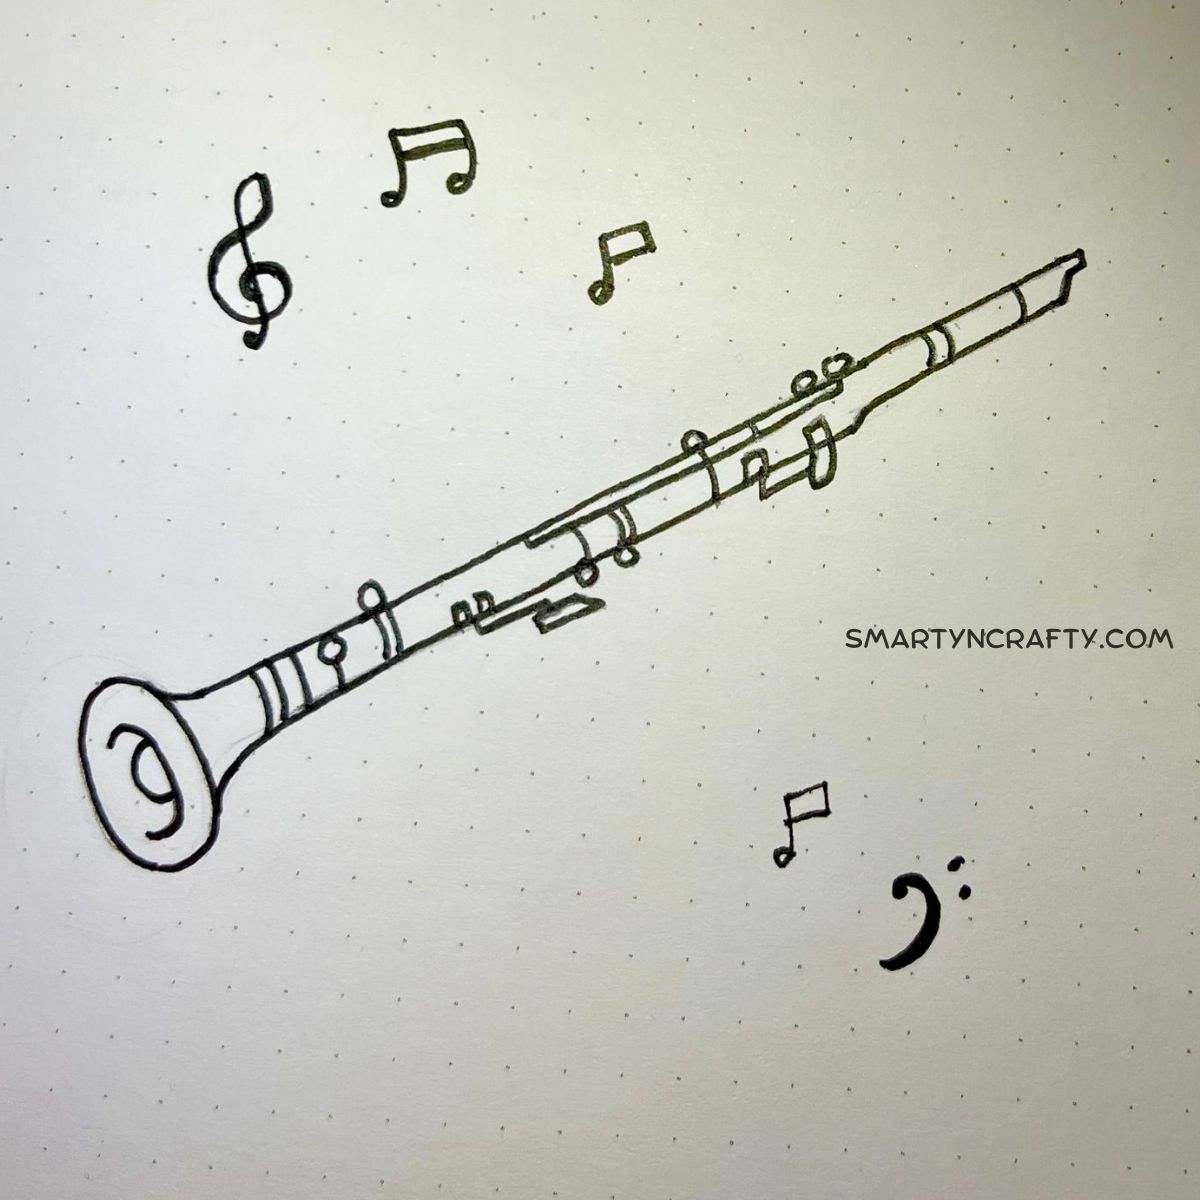
Step 5
If you want to follow a different way theoretically then go ahead.
Step 1: Research and Gather Reference Material
Before you start drawing, gather reference images of clarinets to understand their shapes, details, and proportions.
You can find pictures online or use music books as a resource. Having a clear understanding of the instrument will help you create a more accurate and realistic drawing.
Step 2: Start with Basic Shapes
Begin by drawing the basic shapes that make up the clarinet.
Sketch a long, slender rectangle for the body of the clarinet and a smaller, cylindrical shape for the mouthpiece. Position these shapes in a way that reflects the perspective you want for your drawing.
Step 3: Refine the Shapes
Once you have the basic shapes in place, start refining the details.
Add the keys, buttons, and other distinctive features of the clarinet. Pay attention to the placement and spacing of these elements to ensure accuracy.
Take your time and use light strokes initially to make corrections easier.
Step 4: Add Detail to the Mouthpiece
Focus on the mouthpiece and add details such as ligatures, reeds, and any other features.
Clarinets come in various designs, so use your reference images to guide you in capturing the unique characteristics of the specific clarinet you’re drawing.
Step 5: Fine-tune and Erase Unnecessary Lines
Go over your drawing and refine the details further.
Erase any unnecessary guidelines or overlapping lines to create a cleaner, more polished look. Pay attention to the curves and contours of the clarinet to enhance its three-dimensional appearance.
Step 6: Ink or Shade (Optional)
If you’re satisfied with your pencil sketch, you can choose to ink the lines for a more defined look.
Alternatively, you can add shading to create depth and dimension. Use cross-hatching or stippling techniques to give your clarinet a realistic texture.
Step 7: Final Touches
Take a final look at your drawing and make any additional adjustments.
Check the proportions, ensure that the details are accurate, and add any finishing touches that will enhance the overall appearance of your clarinet.
My Take on How to Draw a Clarinet
Drawing a clarinet can be a delightful experience, combining the worlds of art and music.
By following these steps and paying attention to details, you’ll be able to create a visually appealing representation of this beautiful woodwind instrument.
So, grab your drawing materials, immerse yourself in the process, and let the creativity flow!
Related Drawing for Beginners: