Unleashing the Melody: A Step-by-Step Guide on How to Draw a Saxophone
Drawing a saxophone can be a delightful and rewarding artistic endeavor, allowing you to capture the elegance and musicality of this iconic instrument on paper.
Whether you’re an aspiring artist or simply looking for a creative outlet, this step-by-step guide will walk you through the process of drawing a saxophone with precision and flair.
Materials Needed:
Before you begin, gather the following materials:
- Drawing paper or sketchbook
- Pencil
- Eraser
- Ruler
- Reference images of saxophones
Step 1
Step 2
Step 3

Step 4
Step 5

Step 6

Step 7


Or you can follow a theoretical way of drawing a saxophone.
Step 1: Research and Reference
Start by collecting reference images of saxophones from different angles.
Pay attention to the key features, such as the body, keys, and the bell. Understanding the instrument’s anatomy will help you create a more accurate and realistic representation.
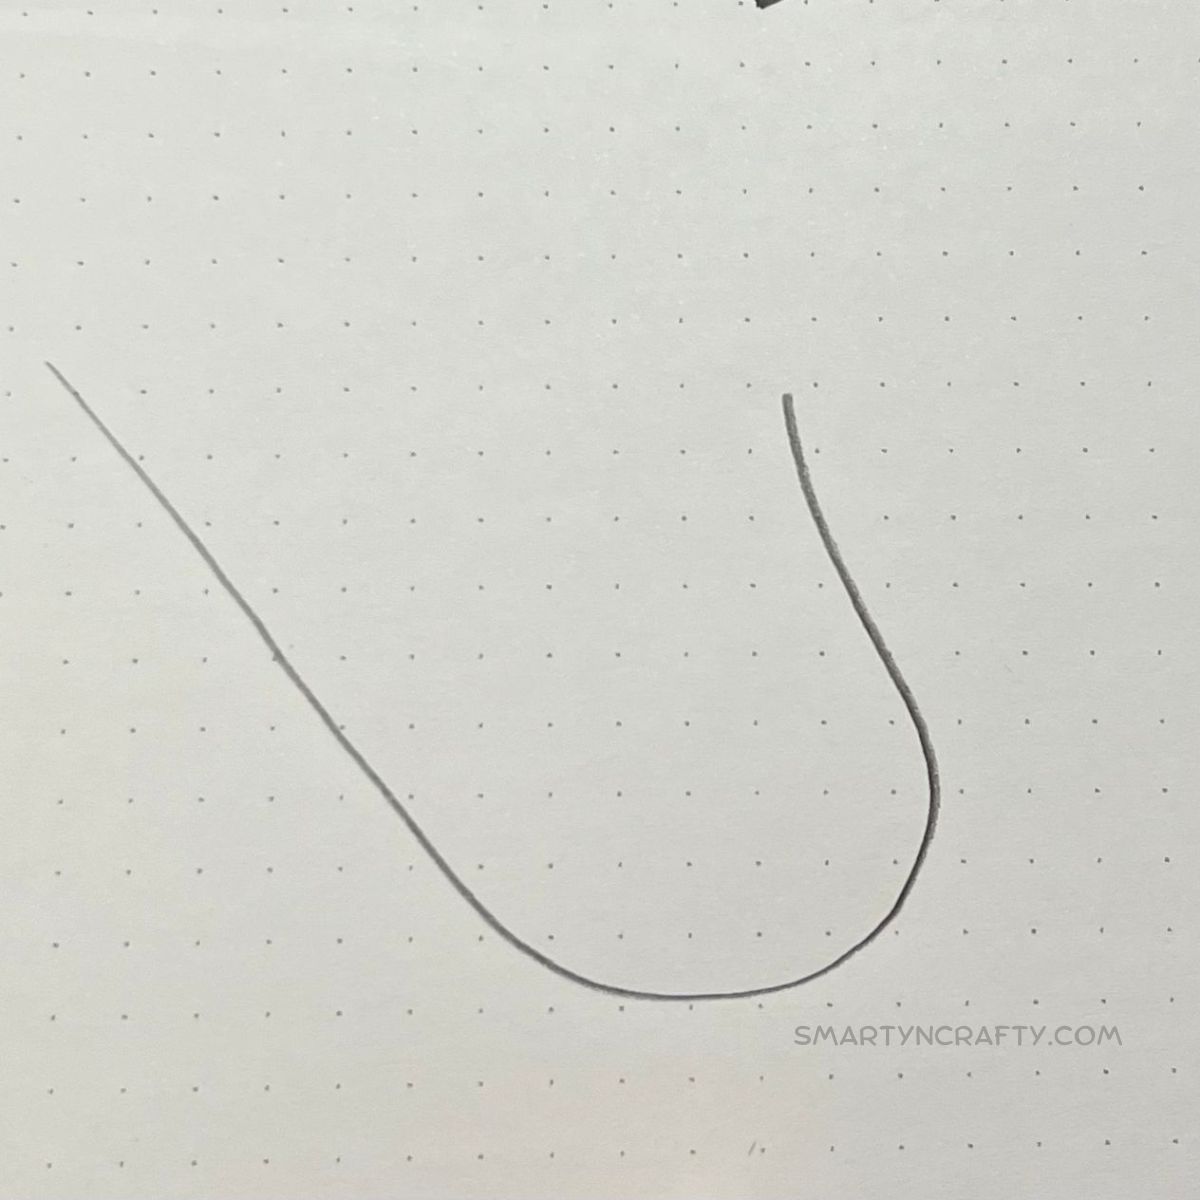
Step 2: Basic Shapes and Outline
Begin by sketching the basic shapes that form the saxophone.
Use simple geometric shapes like cylinders and rectangles to outline the body, neck, and bell. Don’t worry about details at this stage; focus on getting the overall shape right.
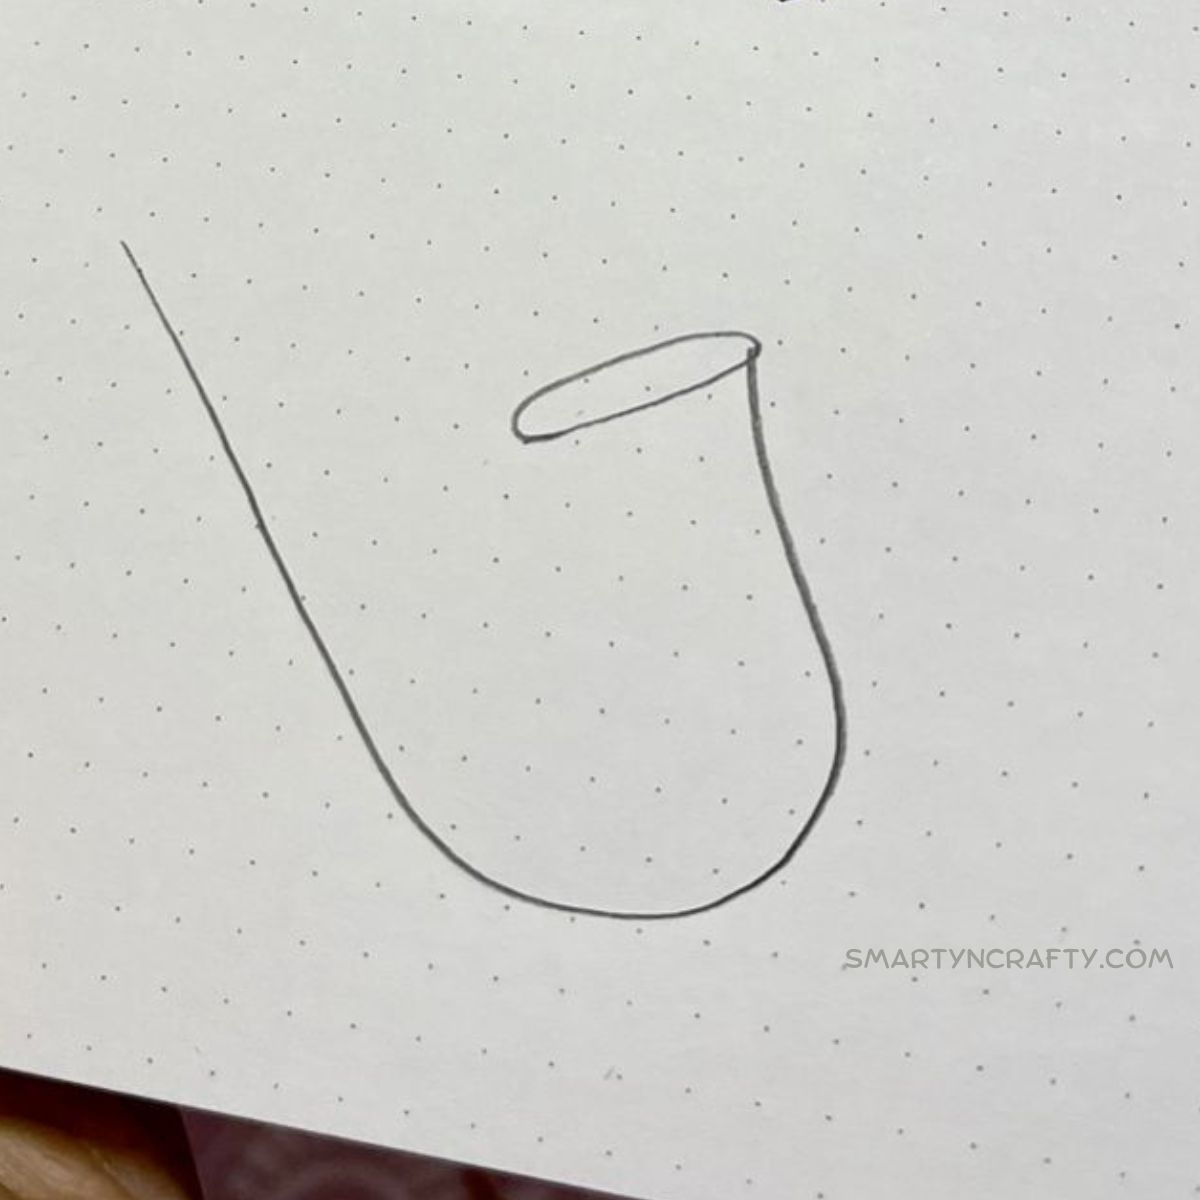
Step 3: Refine the Outline
Using your reference images, refine the outline of the saxophone. Pay close attention to the curves and proportions, ensuring that the drawing reflects the instrument’s distinctive silhouette.
Use a light touch with your pencil, as you’ll be refining the details in later steps.
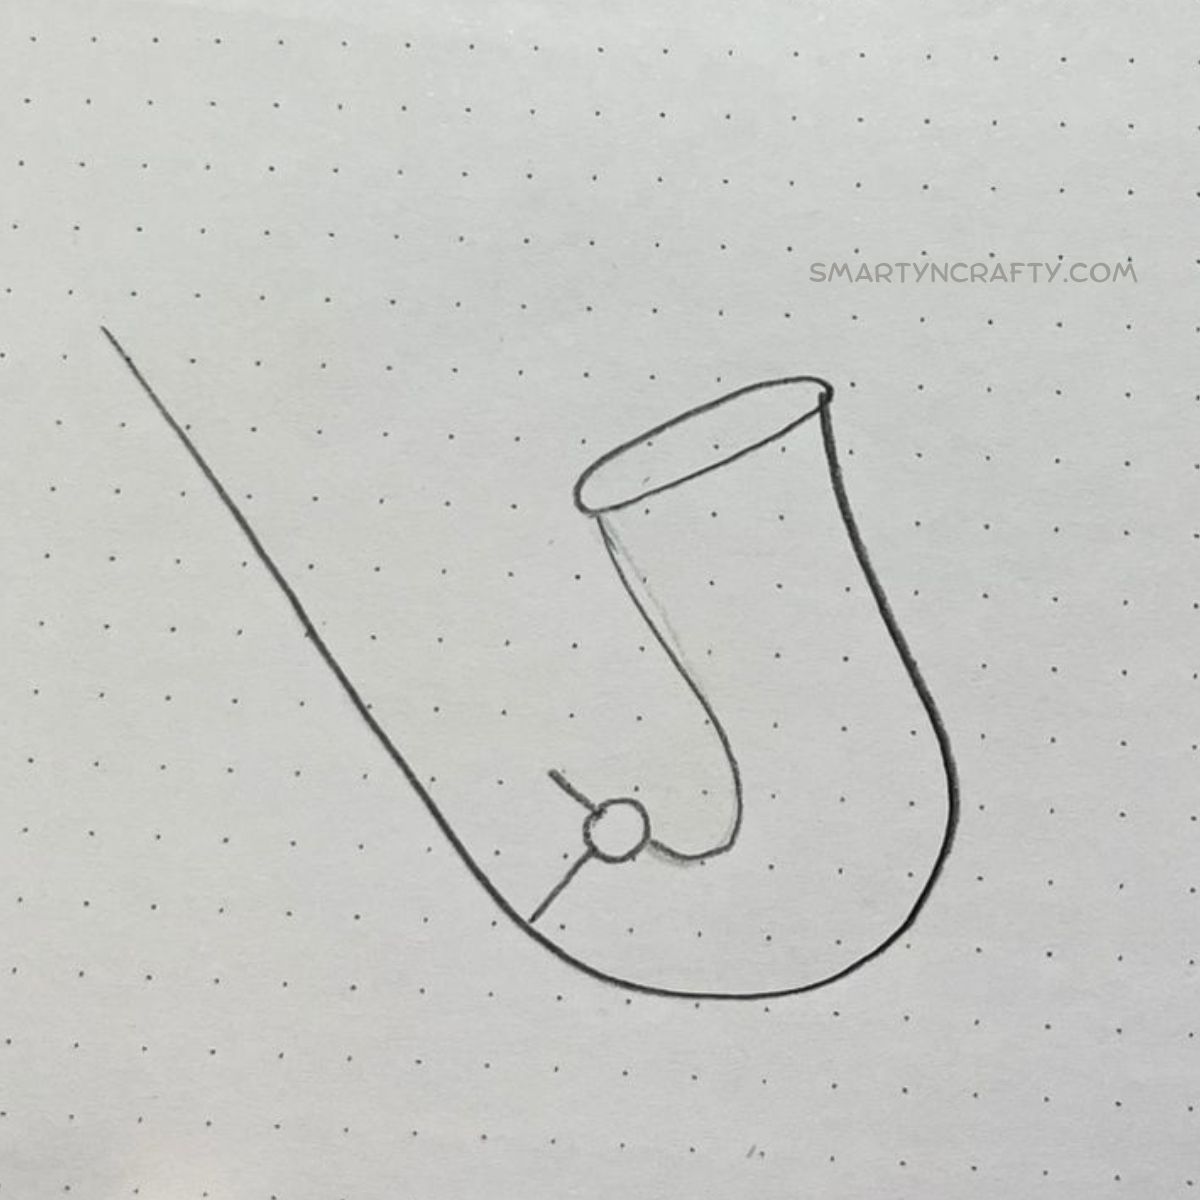
Step 4: Add Key Details
Now, add the key details of the saxophone, such as the keys and tone holes.
Take your time to accurately depict the placement and size of each key. Use your ruler to create straight lines for the key guards and other linear details.
Step 5: Define the Bell
The bell is a significant and visually striking part of the saxophone. Give it a definition by adding shading and subtle curves to convey its three-dimensional form.
Pay attention to the reflective surfaces and shadows to enhance the realism.
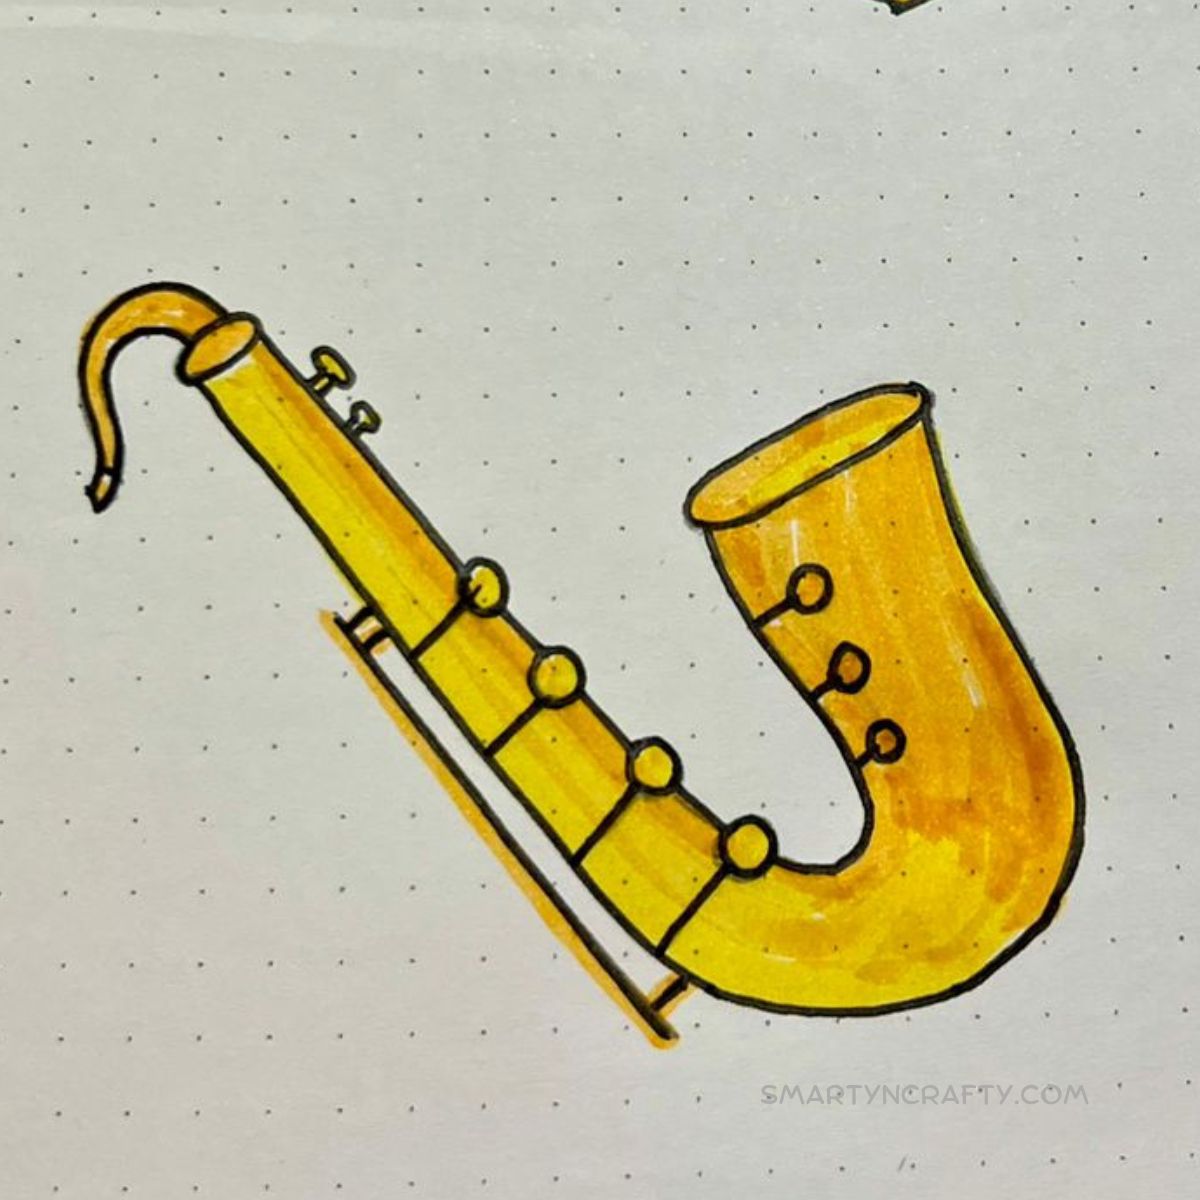
Step 6: Add Texture and Shadows
To bring your saxophone drawing to life, add texture and shadows.
Shade areas where light would be less intense and use hatching and cross-hatching techniques to create a sense of depth. Experiment with different shading methods to achieve the desired effect.
Step 7: Refine and Erase
Carefully go over your drawing, refining any lines or details that may need adjustment. Erase any unnecessary guidelines or overlapping lines to ensure a clean and polished final result.
Step 8: Fine-tune and Add Personal Touches
Fine-tune your drawing by paying attention to smaller details, such as the screws and subtle engravings on the saxophone.
Consider adding your creative touches, such as a personalized design or background elements.

My Take on How to Draw a Saxophone
Drawing a saxophone is a wonderful way to combine artistic expression with musical appreciation.
By following these step-by-step instructions, you can create a captivating representation of this timeless instrument.
Remember to enjoy the process, and don’t hesitate to add your unique flair to make the drawing truly yours. Happy drawing!
Related to How to Draw a Saxophone